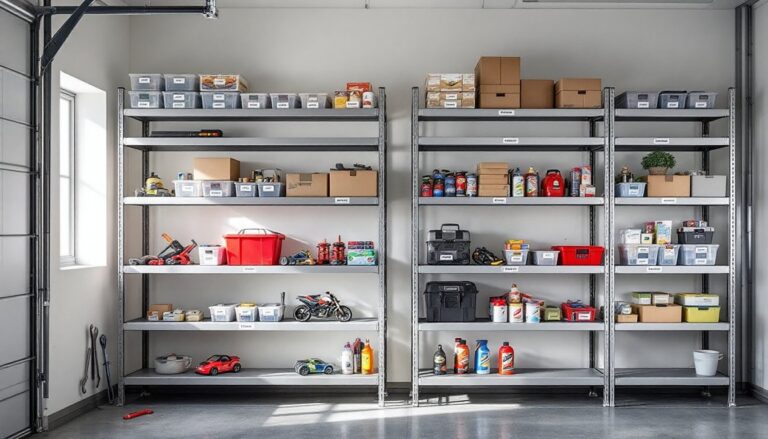
Kitchen storage canisters do more than hold flour and sugar, they’re the backbone of a functional, organized kitchen. Whether you’re working with galley kitchens or sprawling countertops, the right canisters keep dry goods fresh, eliminate clutter, and add intentional design to your space. This guide walks you through selecting, organizing, and styling kitchen storage canisters so your pantry doesn’t just work hard, it looks great doing it.
Table of Contents
ToggleKey Takeaways
- Kitchen storage canisters extend ingredient shelf life with airtight seals while eliminating clutter and unifying your kitchen’s visual aesthetic.
- Glass canisters offer superior durability and visibility, while ceramic brings warmth but works better as display pieces; choose based on your style and how frequently you’ll access items.
- Measure your available space, group items by category, label everything with names and dates, and use the FIFO method to prevent ingredient waste and keep canisters organized.
- Style your canisters by varying heights and materials, limiting displays to 3–5 grouped containers to avoid clutter, and positioning them against backgrounds that showcase their contents or matching your kitchen’s existing finishes.
Why Kitchen Storage Canisters Are Essential for Every Home
A kitchen without proper storage is a kitchen working twice as hard. Canisters solve three major problems: they extend the shelf life of dry ingredients by keeping air and moisture out, they replace clunky original packaging that takes up cabinet space and looks messy on counters, and they give you instant visibility into what you actually have on hand.
When flour, sugar, coffee, and cereal sit in opened bags or boxes, they absorb humidity, attract pests, and degrade faster. Airtight containers slow this process dramatically. Beyond food preservation, canisters create visual calm. Open shelving or clear containers let you see inventory at a glance, no more buying duplicate brown sugar because you forgot what’s in the back of the cupboard.
From a design angle, matching canisters unify your kitchen aesthetic. Instead of a mismatched collection of boxes and bags, you get consistent finishes that read as intentional. This matters whether your kitchen leans industrial, farmhouse, minimalist, or eclectic. Canisters are one of the few storage solutions that earn their place on display.
Types of Kitchen Canisters and What They’re Best For
Glass and Ceramic Options
Glass canisters are the workhorse choice for most homeowners. They’re durable, completely inert (won’t leach chemicals into food), and let you see contents instantly. Standard borosilicate glass resists thermal shock, so moving a container from a cool pantry to a warm countertop won’t crack it. Look for thick-walled glass (at least 5mm) if you plan to stack them.
Ceramic canisters bring warmth and personality but come with trade-offs. They’re heavier, more fragile if dropped, and won’t show you what’s inside unless the lid has a small window. Ceramic works best for display pieces on open shelving rather than everyday grab-and-go storage.
Airtight and Stackable Designs
Airtight seals are non-negotiable for flour, sugar, and coffee. Look for lids with rubber gaskets or silicone bands, they compress when you close the lid, creating a food-grade seal. Check that the gasket is removable and dishwasher-safe: it’ll collect flour dust and need regular cleaning.
Stackability matters if you’re short on space. Square canisters stack more efficiently than round ones and maximize cabinet real estate. Some designs include integrated locking clips (like Pyrex or OXO models) that hold stacked containers firmly in place. Test whether the lid stays flush when stacked, poorly designed lips can catch and topple.
Material matters too. Plastic canisters are budget-friendly and lightweight, but they scratch easily, can stain, and don’t feel as premium. If you choose plastic, opt for BPA-free, food-grade alternatives like those used by OXO or Rubbermaid. For serious storage, glass wins on durability and aesthetics.
How to Choose the Right Canisters for Your Kitchen
Start by measuring your available space. Most kitchen storage happens in upper cabinets, on open shelves, or on the counter near your coffee maker. Measure the shelf width, depth, and height, then subtract a couple inches for comfortable removal. Standard canisters range from 4 inches to 8 inches tall: larger 12-ounce and 16-ounce sizes suit bulk buyers or households that go through flour quickly.
Consider what you’ll actually store. Coffee and flour need airtight seals: decorative items like pasta or tea bags are more forgiving. If you’re storing items frequently, prioritize easy-open lids, you’ll appreciate it after the tenth time you’re filling the same container before noon.
Design compatibility matters. Match your kitchen’s existing finishes: brushed steel, copper, matte black, or clean white. Mixing too many finishes reads cluttered. If your kitchen has stainless steel appliances, look for canisters with matching metal accents. If you lean farmhouse, ceramic or vintage-inspired glass works better than sleek modern designs.
Budget wisely. Basic glass canisters run $8–15 each: high-end ceramic sets cost $60–100+. You don’t need expensive to get functional, a matching set of six solid glass containers with reliable lids will serve you better than a premium single piece. Real Simple and other home organization sites regularly test and rank affordable, reliable options that outperform pricey alternatives.
Organization Tips for Maximizing Canister Storage
Label everything, even if contents look obvious. Use a permanent marker on removable labels or small chalkboard stickers. Include the item name and the date you filled it, this catches stale ingredients faster and prevents mystery containers. For flour and sugar, note the type: all-purpose, bread flour, powdered sugar, brown sugar. Two minutes of labeling saves confusion and waste.
Group canisters by category: baking essentials (flour, sugar, baking powder, baking soda), morning staples (coffee, tea, cereal, oats), and specialty items (nuts, dried fruit, pasta, grains). Keep frequently used items at eye level and within arm’s reach. Reserve top shelves for occasional-use stuff like specialty flours or holiday ingredients.
Rotate stock using the FIFO method (First In, First Out). When you refill a canister, empty the old contents completely, wipe the interior with a dry cloth, and refill. This prevents settling and ensures nothing gets stuck at the bottom. If you buy flour in bulk, don’t just top off the old batch, cycle through completely every few months to prevent rancidity, especially for whole wheat or nut flours.
Use drawer dividers or small baskets to corral canisters in cabinets. This prevents them from sliding around, keeps everything visible, and makes it easy to grab what you need. If you’re storing canisters on open shelving, align them neatly in rows, asymmetrical stacking looks chaotic and wastes space.
Styling Your Kitchen with Functional Canisters
Canisters are decor in disguise. A set of matching containers doesn’t just solve storage, it becomes a visual anchor on your counter or open shelves. Choose a cohesive style: vintage amber glass pairs with farmhouse kitchens, clear borosilicate works for modern or minimalist spaces, and white ceramic suits Scandinavian or cottagecore aesthetics.
Mix heights and shapes for visual interest without chaos. A tall canister paired with two shorter ones creates dynamic composition. If all your canisters are identical, the display reads static. Match materials, not necessarily dimensions: three glass canisters in varying heights, or two ceramic and one glass in neutral tones.
Consider the background. Dark canisters pop against light cabinetry: clear glass shows off colorful ingredients (think bright turquoise sugar or rich brown coffee) against darker backgrounds. If your canister contents look dull (beige flour in clear glass against a beige wall), store them in cabinets and keep decorative (or less-used) items on display instead.
Group canisters with complementary items: a small wooden spoon holder, matching salt and pepper shakers, or a vintage scale creates a composed vignette. The Kitchn and Martha Stewart regularly feature kitchen styling that shows how canisters anchor functional displays. When styled right, canisters tell a story about how you cook and live, not just where you store things.
Avoid overcrowding. Three to five canisters grouped together read as intentional: seven to ten start feeling cluttered. Reserve extra storage for cabinets. Open shelves work best when there’s breathing room around each object. This applies whether you’re styling a small galley kitchen or a sprawling chef’s kitchen, restraint always wins.